
I found myself in a lighting showroom today by chance…
Or maybe, I subconsciously planned my route around the city to end up going right by it?
Either way, it’s time to turn my thoughts toward the electrical plan for our cottage.
Since electrical installation begins after framing has finished, it’s one of the first elements that starts the transformation from a carcass of a building into a home.
And to top it all off, lighting is one of the most fun things to shop for. There’s a wide choice of fixtures to make you ‘oooh and aaah’, so it’s important to create a list to help keep yourself focused and on budget.
Cottage Lighting Requirements by Room
Art light
Master bedroom – Ceiling fixture, 2 reading lamps for bedside, closet light
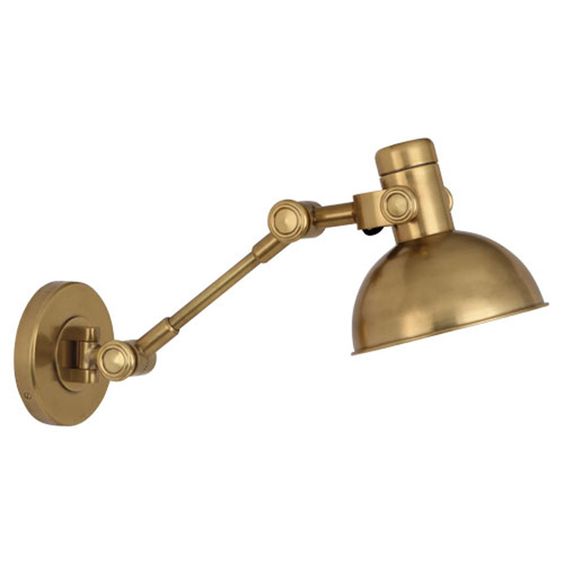
Hallway – Pot lights, light to highlight artwork/fold-down laundry table, night-lighting
Bathroom – Pot lights for ambient/general lighting, slightly glitzy ceiling or pendant fixture for bathing ambiance, bright vanity lighting (sconce or pendant), night-lighting
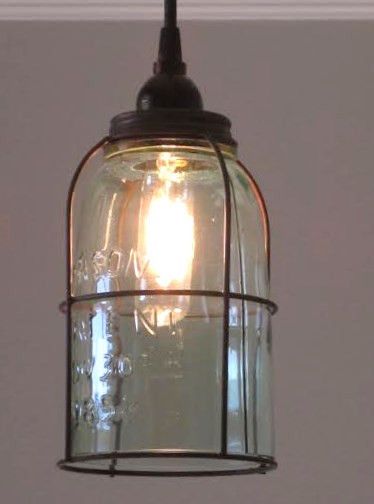
Edison bulb
Guest bedroom/office – Ceiling fixture, task light at desk, 1 reading lamp for bedside, closet light, night-lighting
Kitchen – Task lighting over countertops (under upper cabinets), pot lights for general lighting, 3 pendants over island (Edison bulbs). Note. We’ve got a tricky area in the kitchen with a large picture window over the countertop. I’m thinking of using larger swing-arm sconces (see hallway above) or pendant lights.
Living room – Wall sconces above sofa, pot lights for general lighting, spot lights to wash down fireplace wall, floor lamp, table lamps, fan (no light)
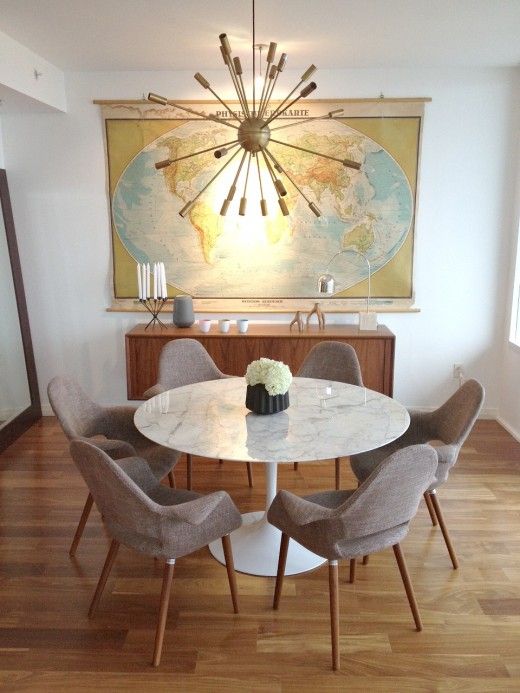
Sputnick style pendant
Powder room – Main pendant, decorative sconces for vanity
Dining room – Large airy pendant/chandelier (sputnick or geometric), pot lights for general lighting.
How to Light Vaulted Ceilings
In order to make the open-plan living/dining/kitchen as light and airy as possible, we decided on a vaulted ceiling. However, we are keeping the bedrooms and bathroom ceiling at the standard 8’ height. Vaulted ceilings require a little more thought put into them due to the extra volume of space you will need to light, and the fact you’ll be a little more restricted with the types of fixtures you can use on sloped surfaces.
Recessed Lights
- They need to be paired with the correct adaptors and trim for sloped ceilings. Make sure they fit the angle of your ceiling’s slope so the light shines straight down rather than at an angle.
- To direct light exactly where you want it, install a specialized trim such as an eyeball trim, which has a swivel/gimble feature that allows you to adjust the angle of the bulb.
Pendant Lights
- Most pendant lights that use single down-rods can be modified to hang straight down from a vaulted ceiling by installing a sloped ceiling canopy. However, with a pendant that is suspended from multiple rods or chains and designed for hanging on a flat ceiling, it’s probably not going to hang properly on a slope. So look for pendants that can be specifically mounted on sloped surfaces.
Track Lights
- Track lighting is a common lighting solution for sloped ceilings. Installing multiple light sources on a single track allows for increased illumination in vaulted areas and greater control of the direction of the light. Tracks installed on a sloped ceiling will require specialized sloped ceiling anchors.
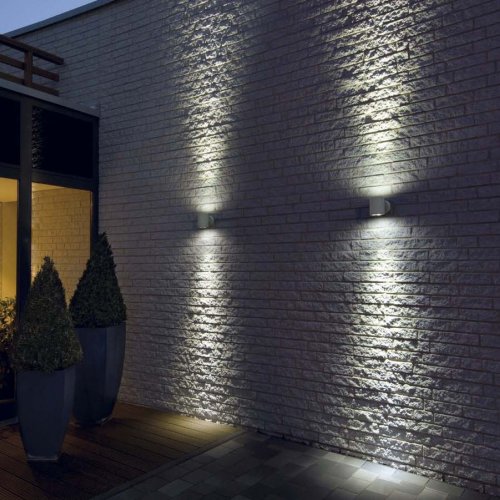
Wall wash sconces
Wall sconces
- Wall sconces that direct light upwards as well as downwards will accentuate the height and beauty of a vaulted space. They should be positioned at eye-level or higher.
Layer your lighting
In main areas such as living rooms and kitchens it’s a good idea to have 3 or 4 different sources of lighting. Think of this as layering your lighting levels. Use a combination of ceiling fixtures, sconces, lamps and accent lighting. I like to use dimmers on many of these and put them on separate switches for maximum lighting control. You can create real drama with a well thought out lighting scheme.
Read further on how important lighting is on the blog posting Lighting. See Better and Be Safer.
How much light does each room require?
In order to light each room properly you’ll have to know how many lumens are ideal for each area. 1000bulbs blog offers an in depth explanation on calculating your lighting needs.
Action Plan
Hire a professional to draw up a lighting plan for your whole home to ensure you have a creative and effective lighting design. On a more practical level they will ensure everything is logically placed and easily reached. A lighting plan will include the locations and types of all fixtures, switches, receptacles and thermostats. It will give you the chance to see exactly how things will work and to make changes easily on paper before the physical installation begins.
You may also enjoy our blog posting Accessibility Hacks. Switches and Receptacles.
Read the next posting in this series about why patience is a virtue when you’re building. Sigh.