
Have you ever watched your young grandchildren try to wash their hands or brush their teeth at the bathroom sink? It can be tricky for them to reach everything.
Now just imagine that’s you sitting there in front of the sink.
How do you think you would manage?
Make you and your family’s lives easier by incorporating the features below to create an accessible vanity in your bathroom.
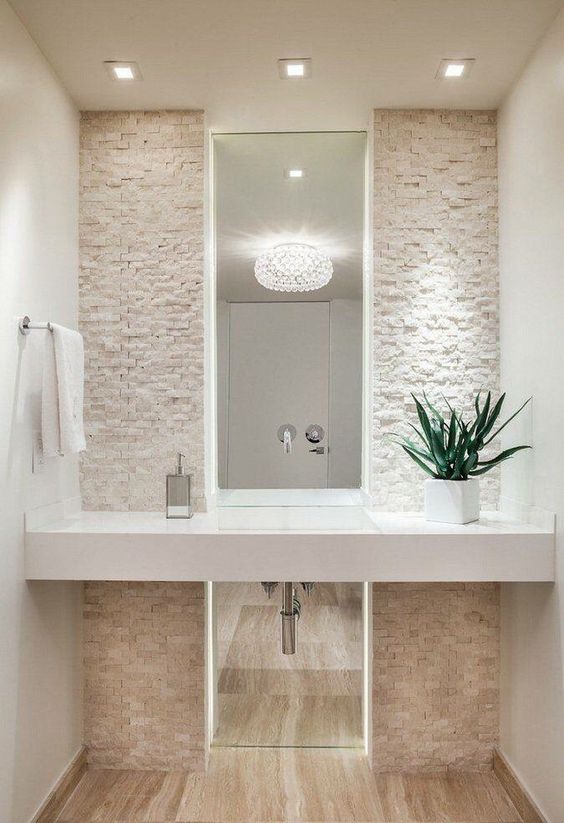
Roll-under space
Roll-under sink/vanity
Make sure there is open space underneath to pull up a chair or wheelchair. Sinks which are set into a cabinet or countertop are the sturdiest. Bowl-like vessel sinks can be too deep to reach into and are weak at their mounting point. TIP: Cover the pipes under the sink to prevent scalded knees.
Vanity Styles
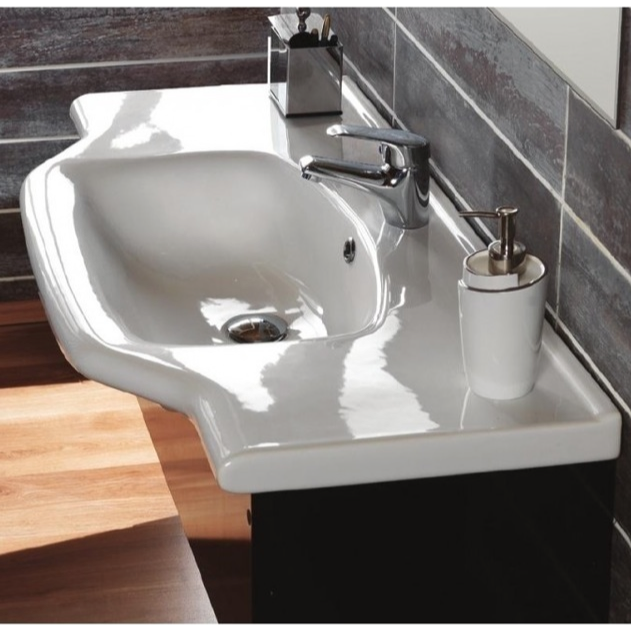
Inset sinks
The 2 main styles are either directly wall-mounted or set into or onto a countertop or cabinet. No matter what your decor you will find a style of sink to coordinate with your bathroom.
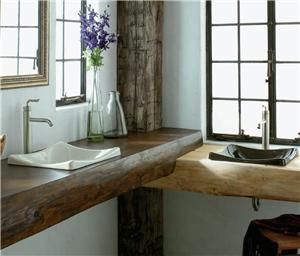
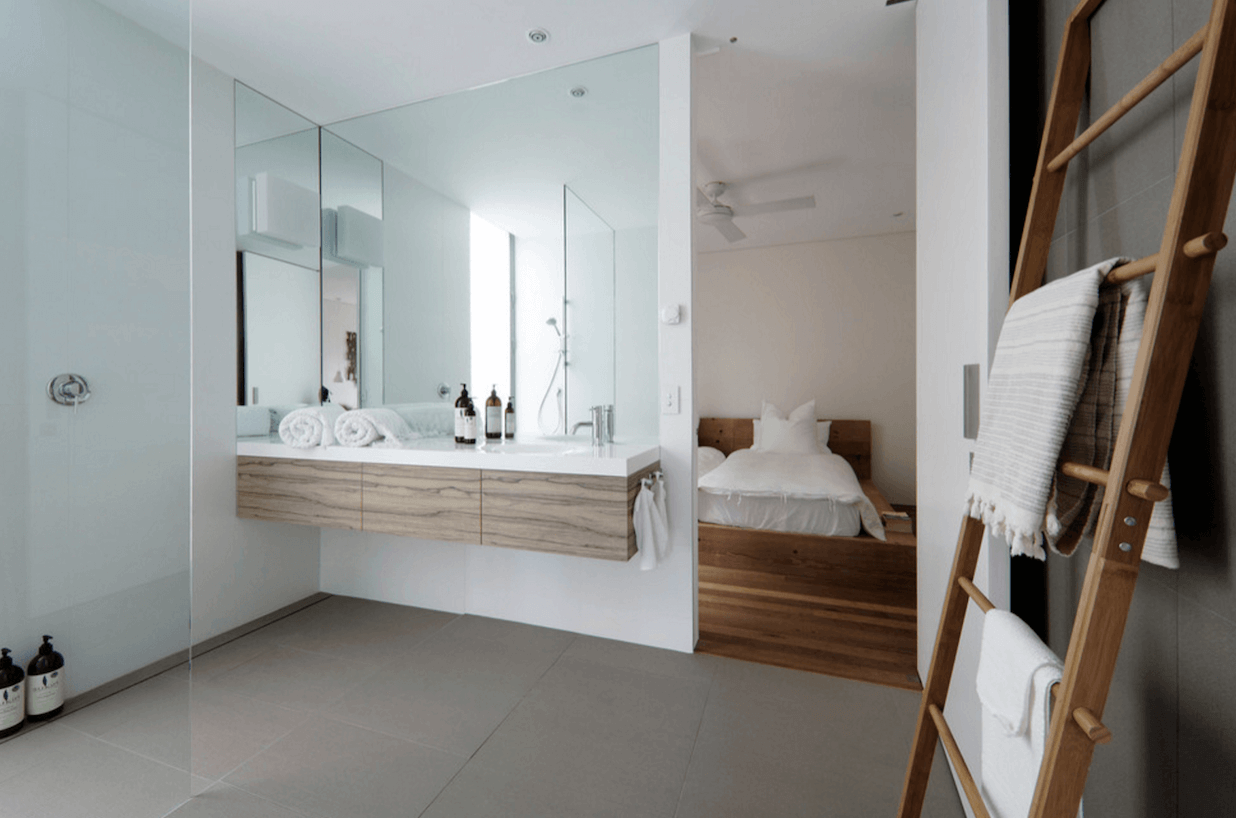
Wall-mounted
It’s useful to have as much countertop space as possible and there are some beautiful materials to choose from such as marble or wood. If you don’t have the space, or you desire a more contemporary look there is a wide range of wall-hung sinks that have integrated flat surfaces.
The ideal solution for a vanity area would be to have 2 sinks at different heights to suit everyone. The height difference is actually only a few inches and would be easy to achieve with a bit of forethought.
Cabinet Hardware
Use only D-style handles for doors and drawers. Avoid knobs as they can be difficult to grasp.
Read more about cabinet hardware.
Space Requirements
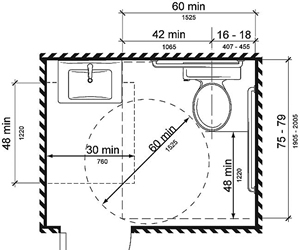
Minimum dimensions
A clear floor space of 48in/122cm deep by 30in/76cm wide is required for wheelchair maneuvering at your vanity. (This is measured from the point at where there is 27in/69cm vertical leg clearance and 9in/23cm toe clearance).
The top of the sink itself should be no higher than 34in/86cm and the bottom of the sink or cabinet must be at least 27in/69cm from the floor to allow for knee clearance.
The knee space must extend back at least 8in/20cm from the front of the sink.
Faucet
Look for a single-lever with a thermostatic mixer. The mixer helps to safely control the water temperature and prevent scalding. The single lever makes it easy to achieve your perfect water temperature for those with a limited range of motion.
Grab bars
It would be useful to have 1 or 2 grab-bars in your vanity area. Take a look at this one which is elegantly combined with a towel rail.
Read more about integrating and installing grab bars.
Mirror
Vanity mirrors
Ensure they are mounted at an appropriate height for seated or shorter people. Install them as close as possible to the countertop or backsplash. TIP: Mirror the side walls if the vanity is in a niche or install a retractable magnifying mirror to increase this area’s usability.
Learn how to use mirrors creatively in your home.
Lighting
Ensure you have bright dimmable lights around the vanity mirror. Consider installing side lights because they don’t cast shadows.
Storage
Include a mix of both open and closed storage. This could include drawers or a cabinet below the vanity to one side, or wall mounted. Locate the majority of storage within the ideal reach zone of 15-48in/38-123cm above the floor so everyone will be able to reach it easily and safely.
Action Plan
A good vanity is important but it is only one part of an accessible bathroom. You will find that the features that make it accessible will make it easier for everyone to use on a daily basis. Don’t wait until an injury or illness forces you into an emergency renovation.
It is important for you to have an accessible bathroom on the main floor of your home to future-proof it. If at some point in the decades to come you choose to live on only one level of your home, a main floor bathroom is an absolute necessity.
So, take another look at your renovation or house plans and make sure you are incorporating accessibility features, including the vanity area, into your accessible bathroom(s).